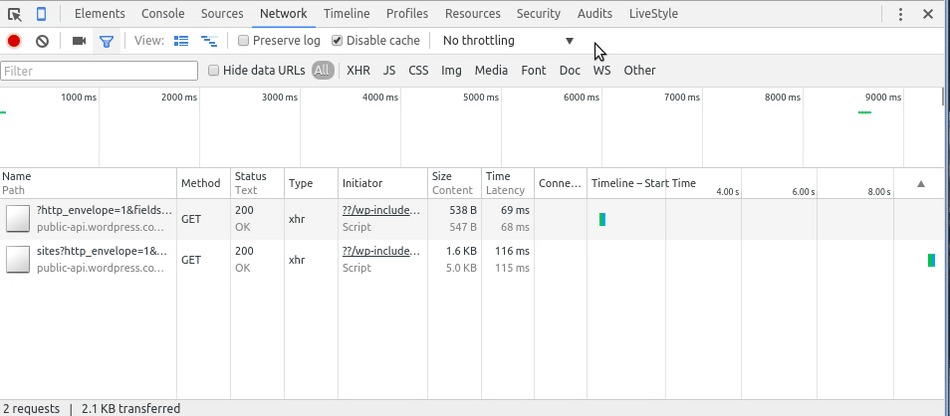
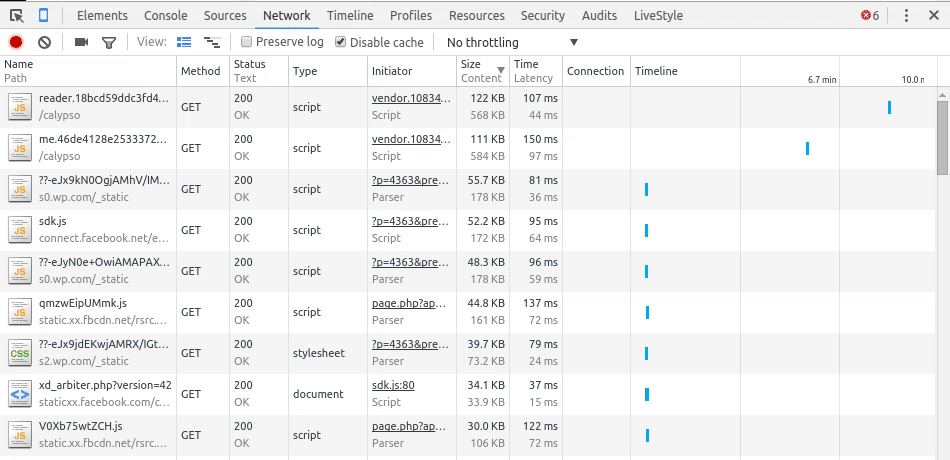
1. Throttling
A web application might work beautifully on fast networks but stutter and even throw up bugs on slow connections. Fiddler used to be the go-to tool for simulating delays and adding latency during testing; the good news now is that Chrome provides throttling too.
There are preset profiles available (e.g. GPRS, 3G, etc.) but you can define custom latency and throughput profiles if you want. Something for those of us who want to simulate network connections to IoT devices.
2. Replay requests
At times, there is a need to replay an isolated request several times. Refreshing the page works but brings down the entire page payload again.
A better alternative would be to find the request in the network tab, right-click on it and then replay it. Note that if you want more control, for example, if you want to replay a request 10,000 times, you might have to look at other tools like fiddler or curl.
3. The network panel headers
The default tabs that appear on the header row can be changed. For example, you can display the Method, eTags or even cookies columns.
Clicking on a tab header sorts all the rows by that column. Unfortunately Chrome doesn’t allow you to reorder the header ordering; a pity as I would love to customize tab ordering.
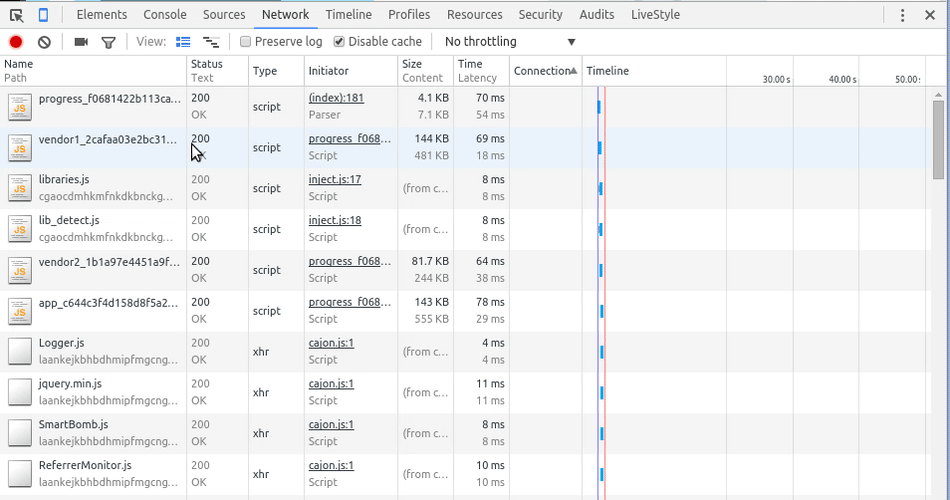
4. Network performance and content compression
This is one useful tool that is not so obvious. If you have the ‘small request rows’ option set; then you’ll have to switch to ‘large request rows’ (See the gif below).
- Size and Content: Size shows the magnitude of the downloaded file over the wire while content shows the real size of the contents. Ideally, size should be smaller than content since browsers can handle gzip-compressed files. If you see requests that have the same size and content value; that’s an optimization hole to plug.
- Time and Latency: The time row shows the request’s entire round trip time while the latency row shows the time it took to set up a connection and process the request on the server. If request latency times consistently take about 80 – 90% of the total time, there might be server processing or network connection investigations required.
5. Debugging with HARs
A customer living in Antarctica reports a bug in your web app. Obviously you can’t go to Antarctica, yet you need a dump of the customer’s state. Don’t fret it; HARs provide a way out.
HAR means HTTP Archive – a JSON file containing all the information necessary to recreate the network tab experience.
So, you tell the customer to open up the Chrome network tab, export the HAR file and send to you. There are lots of HAR readers available or you can set up your own via npm. Problem solved!
6. Examining HTTP traffic
Clicking on a request in the tab opens up a new panel which allows you to examine the request’s details. You can see all the headers; responses, cookies timelines etc. The preview option offers a nice prettified output for response data and if you prefer the plain view; that does exist too.
7. The Filmstrip
The filmstrip generates a frame-by-frame sequence of screenshots showing the page render process during load. It also includes timing information so you can figure out what the bottlenecks are.
For more accurate results; disable the cache and then refresh the page. You can read more about the filmstrip here.
8. Others
- Disable the cache: Disables the cache to ensure a fresh load
- Filter: Allows you to type expressions to filter network request rows. There are also out-of-box filters for XHR, JS, etc. I like the websockets (WS) option a lot.
- Preserve log: Don’t wipe the log on refresh
- Copy support: Allows you to copy a request; exposes cURL as a copy option too. Yay for cURL users!
Here are other posts in this series:
- Chrome dev tools deep dive : Elements
- Chrome dev tools deep dive : Sources
- Chrome dev tools deep dive : Console
Discover more from CodeKraft
Subscribe to get the latest posts sent to your email.

5 thoughts on “Chrome dev tools deep dive : Network”